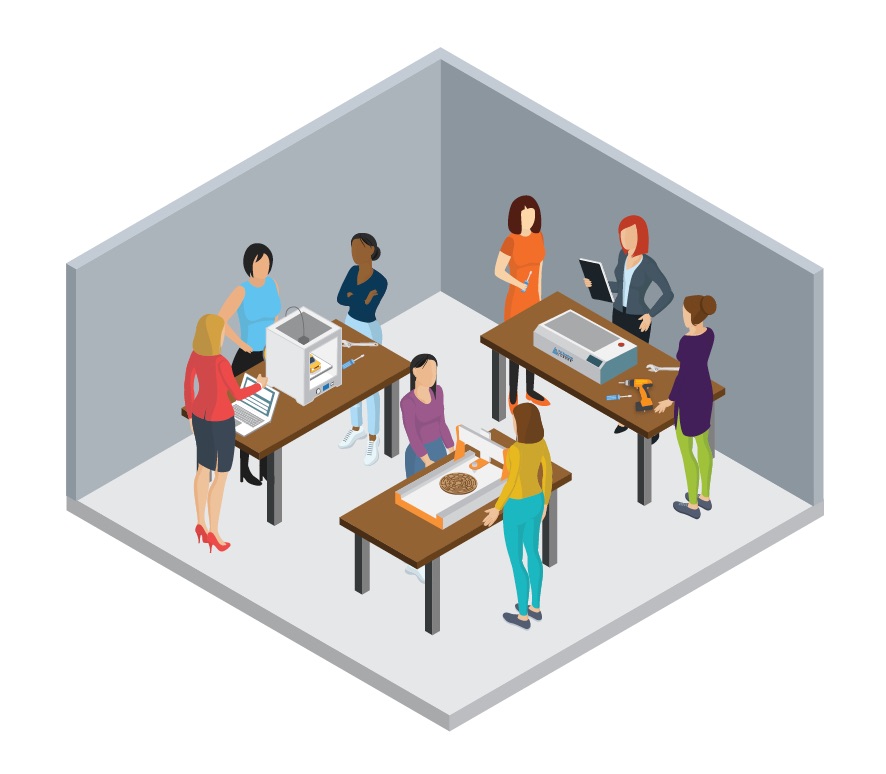
Educators are often eager and excited to start building a Makerspace in their schools, but feel overwhelmed with information and not sure of where to begin. By asking some simple questions and following a plan, you can better figure out what your next steps should be. This document – “5 Steps to Building a Fab Lab Makerspace” – will help you get started!
Connect with School Fab Lab to download “5 Steps to Building A Fab Lab Makerspace”!
You could work through this guide as a group, forming a Makerspace Planning Committee with students, teachers and other stakeholders .
Here’s a preview of one of the Steps:
 How much physical space is
available?
Optimal conditions would be to
have a room dedicated to your
Makerspace. A Makerspace can
start with in a library and grow from
there. Begin by using the School Fab
Lab AR application on the iOS app
market. You can use our application
to move various machines around
the room to see where you would
like to place each station and how
much space they will take up.
The accompanying tool to help build your Makerspace – the School Fab Lab AR App – is accessible here.
The School Fab Lab Augmented Reality app allows you to design, configure, and transform your classroom into a Fab Lab Makerspace before moving any furniture! And you can learn how 3D Printers, Laser Cutters, Vinyl Cutters, and CNC Milling Machines work to fabricate various objects.
The Guide to “5 Steps To Building a Better Makerspace” can be downloaded by communicating with School Fab Lab.
—


